
Meta Ads - CDP & Predictive AI
For Marketing Automation without CDP, see this page instead
Provided by: Splio
Connector type: Destination
Third-party system: Ads
Required license: "Marketing Automation + CDP" or "Predictive AI (previously Tinyclues)"

Setup Process
Please follow these steps to install the connector:
-
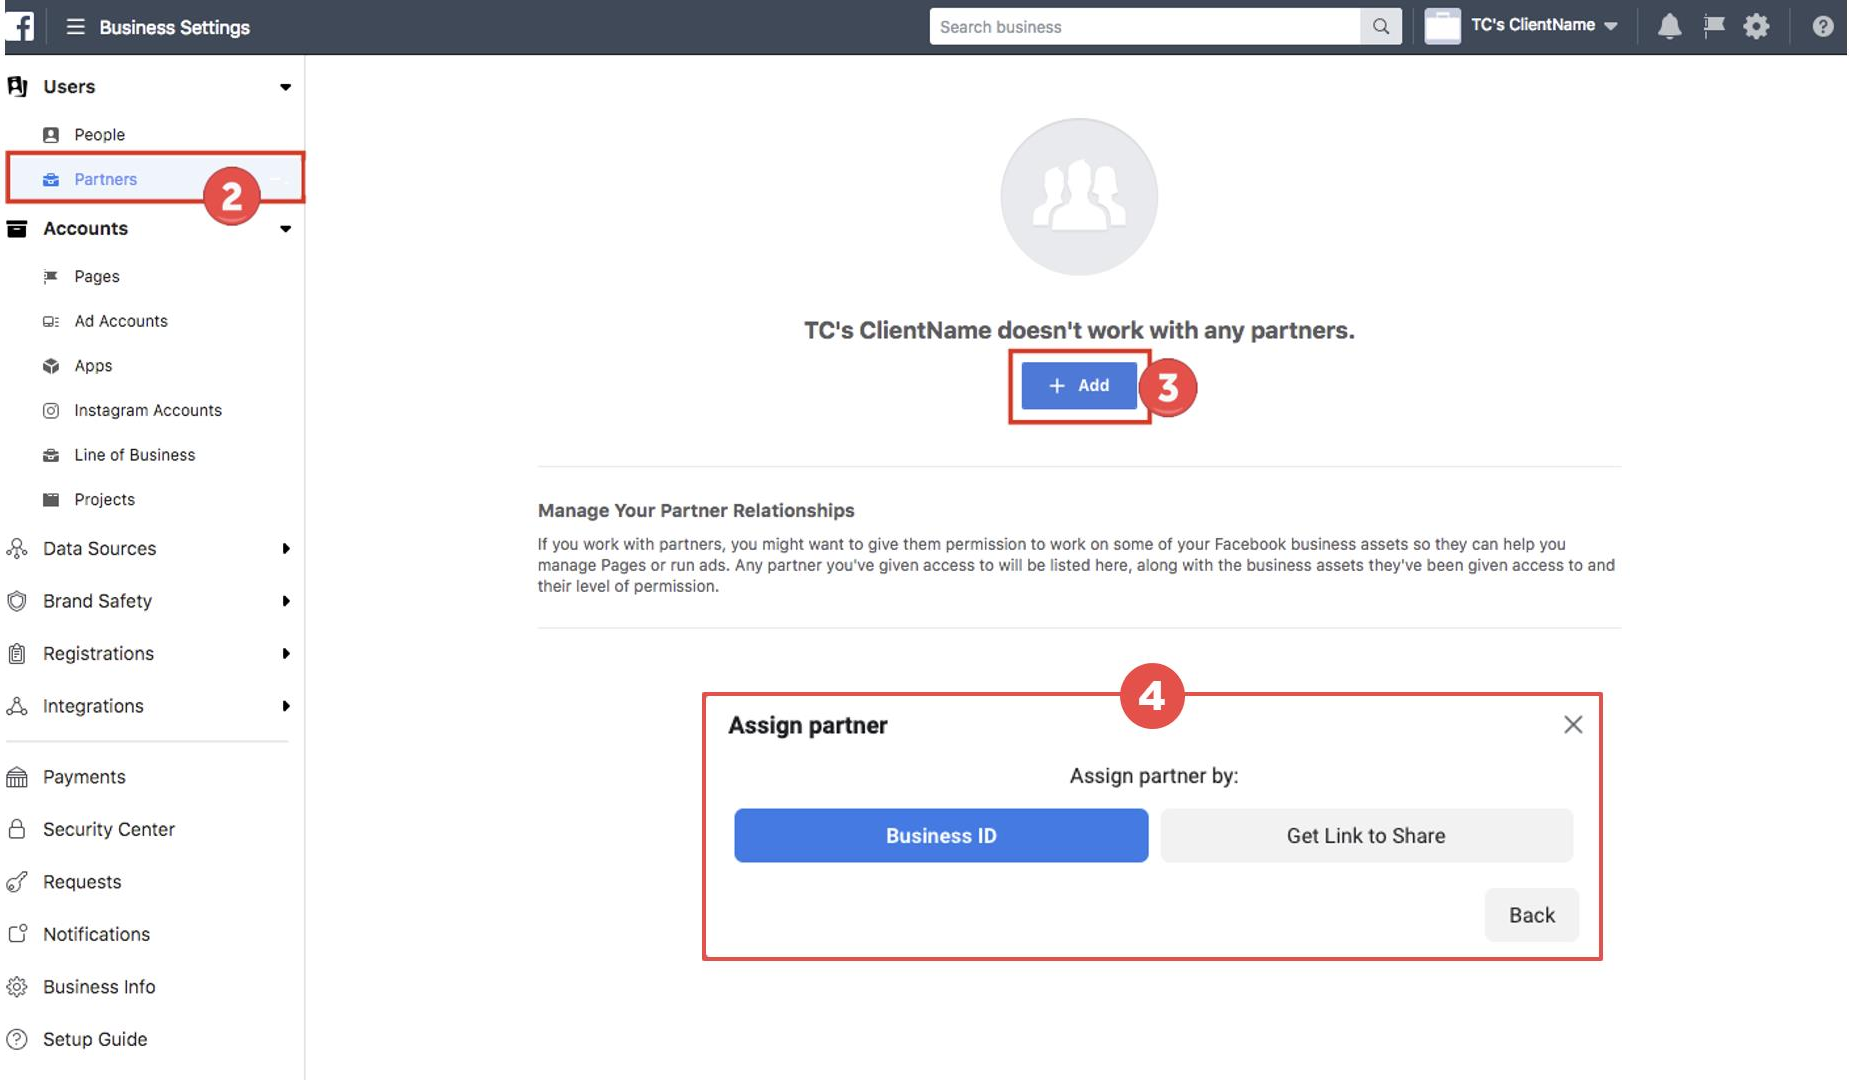
Log into Meta Ads Manager.
-
On the left side, go to Users > Partners.
-
Click on Add in the center of the page.
-
In the Assign partner pop-up, select Business ID.
-
Enter Splio business ID to add us as a partner.
Splio business ID:2252590104995721. The Splio partner name will appear as Tinyclues fbads.
-
Switch on the Manage campaigns toggle and click Next.
-
Now you need to assign your assets to Splio. On the left side, click Ad Accounts.
-
Choose among your Ad accounts the one you wish to connect with Splio.
-
Switch on the Manage Campaigns toggle and click Save Changes.
-
A pop-up will appear confirming that your assets have been assigned.

Configure the Meta connector in Splio CDP
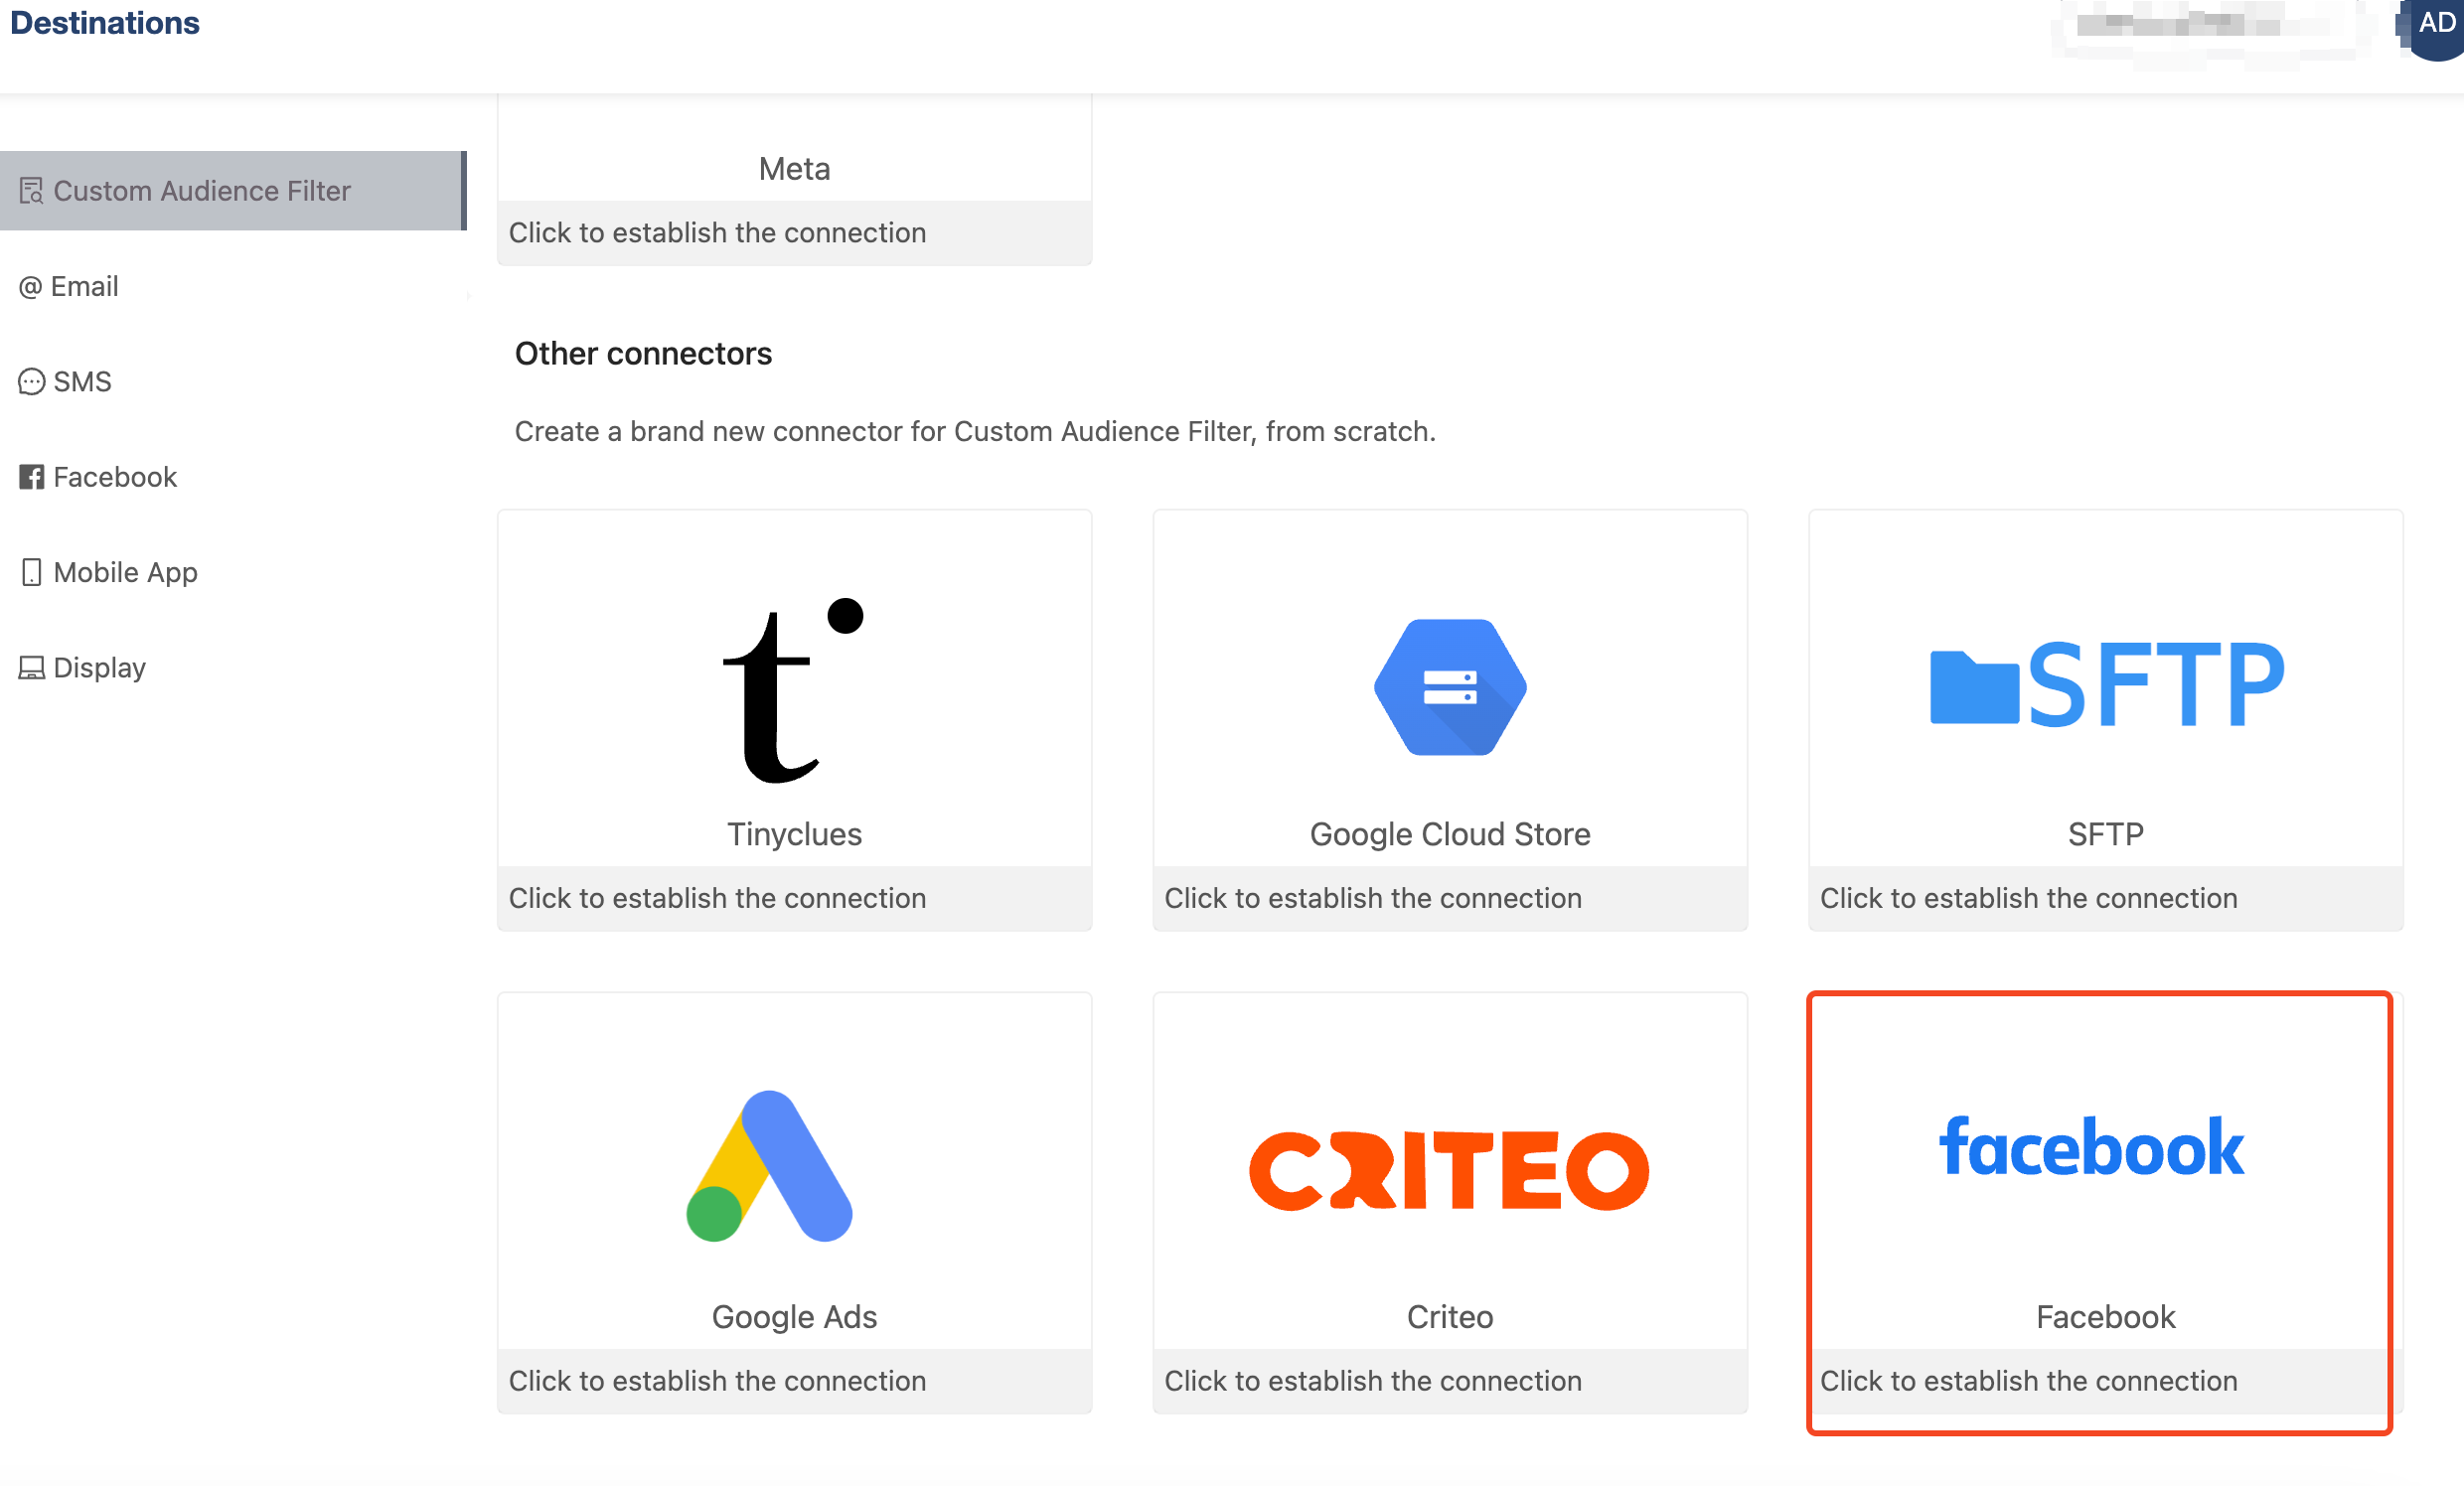
- In Splio CDP, go to the Connection Hub navigation and click
Destinations - Most probably, you are to set up a facebook connector to be used to export CAF audiences, so make sure to select “Custom Audience Filter” if not click desired channel!
- There, choose “Click to establish the connection” with the facebook connector
-
Set up the connector
-
Give a name to your connection
-
Paste the Meta Ad account ID of your account.
-
Make sure to enter the Account ID with a
act_prefix -
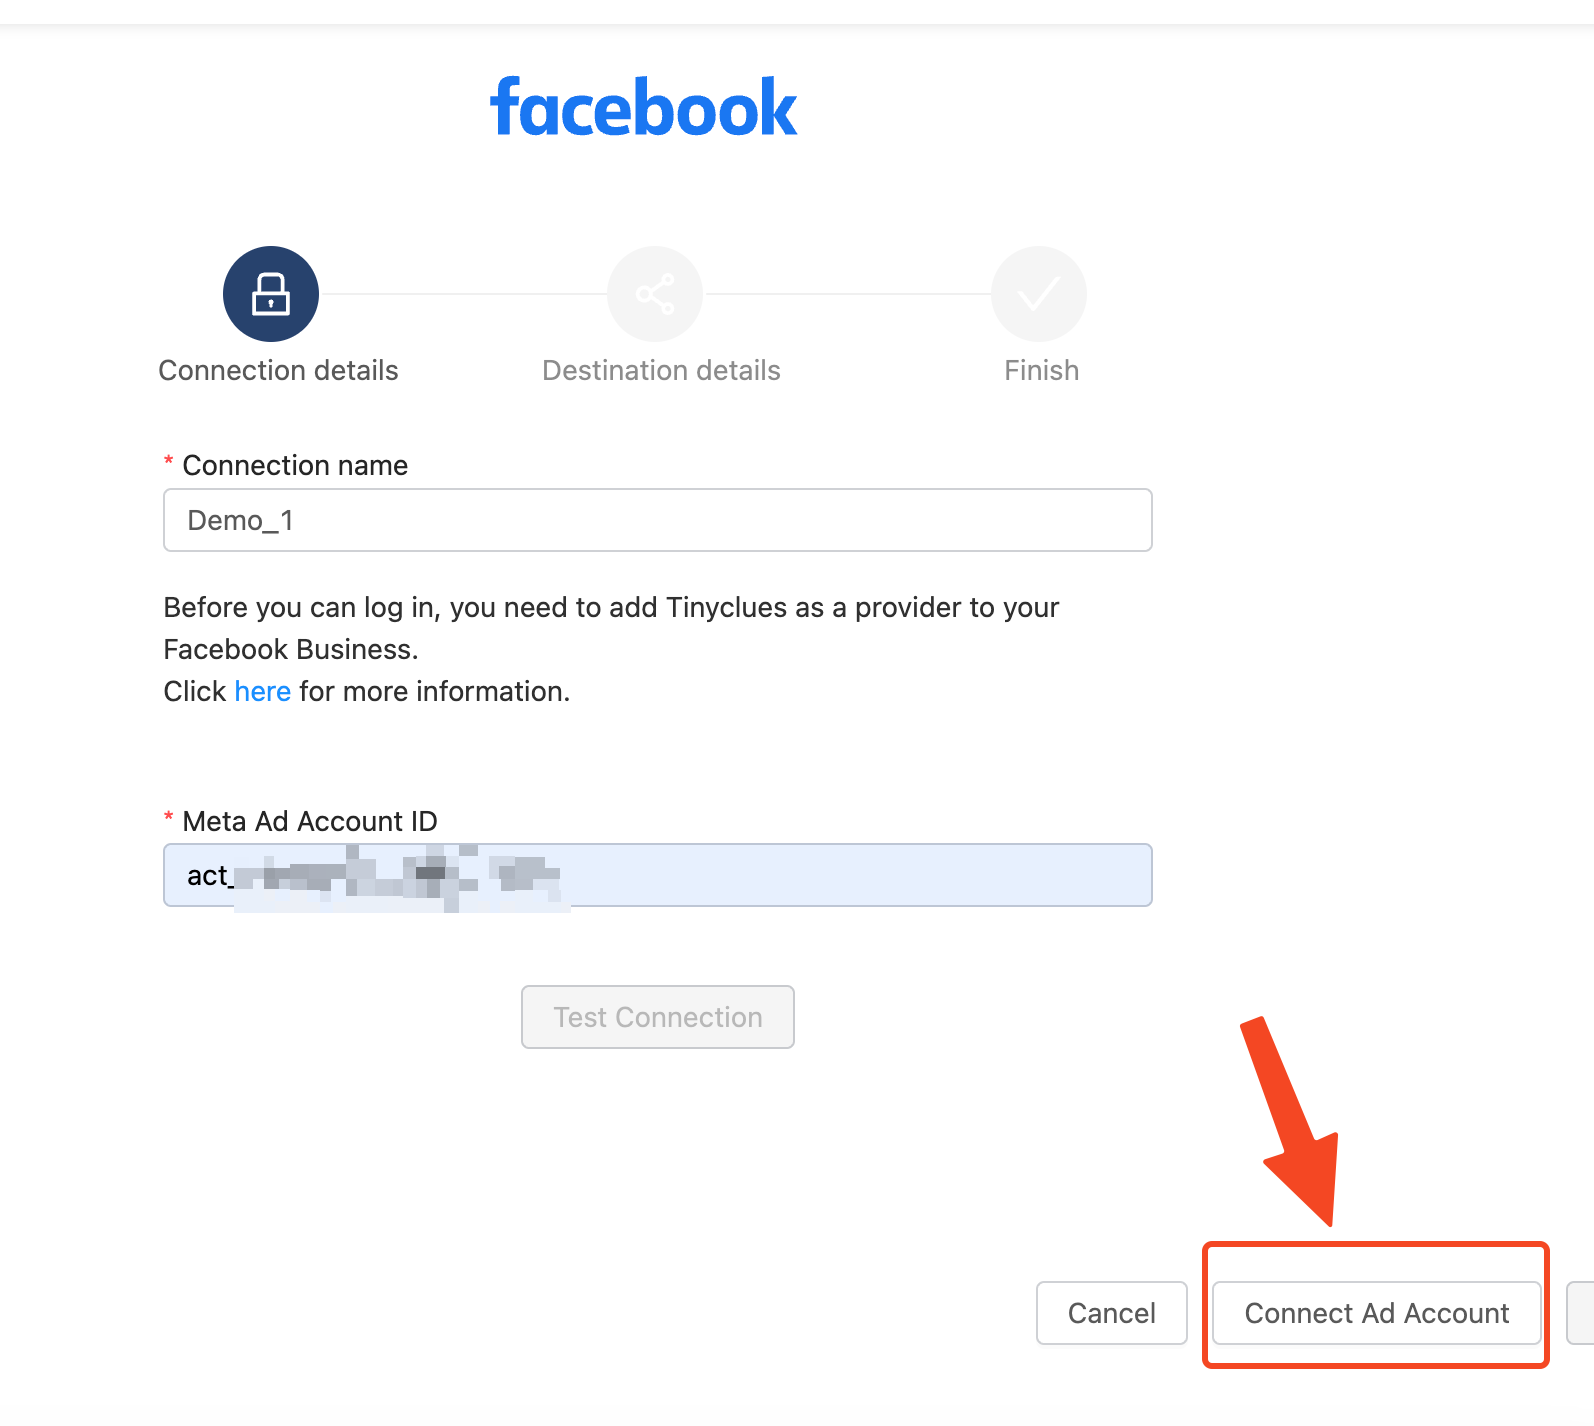
Click the button Connect Ad Account
-
Once you see the message
The user successfully connected to the specified Meta Ad Account ID. You can now test the connection., then click buttonTest Connection -
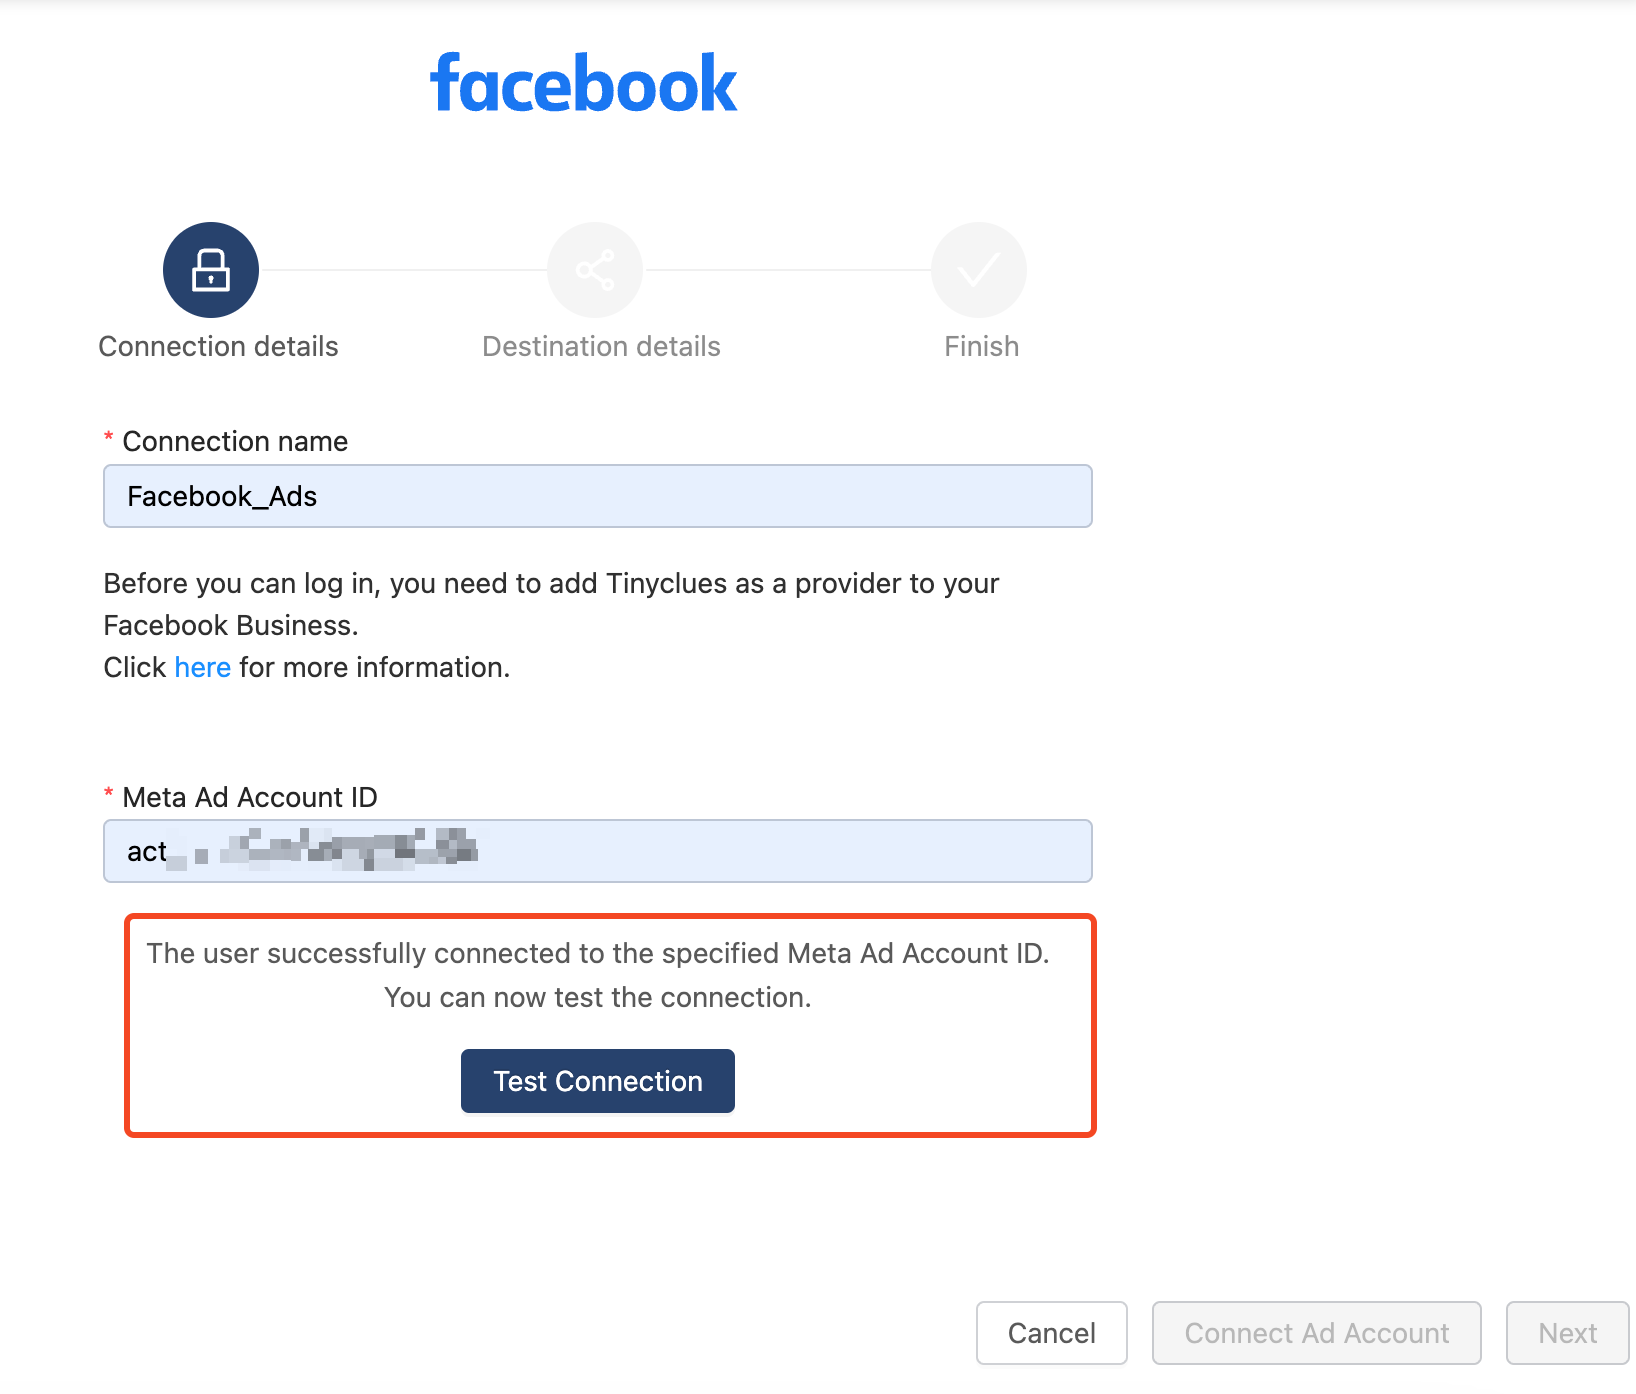
Once the connection is successful, you can proceed to the next screen
-
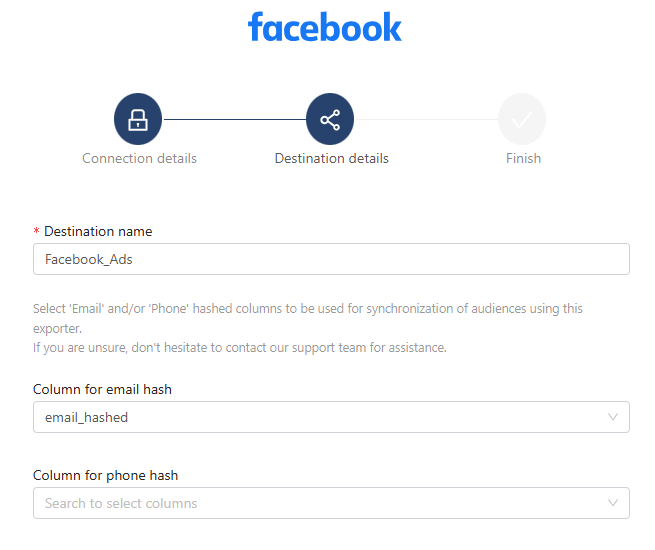
Choose the fields - from warehouse.user model - that are to be used for audience synchronization (email and/or phone depending on your data)
- ⚠️ Be careful to choose cleaned and hashed prepared fields
-
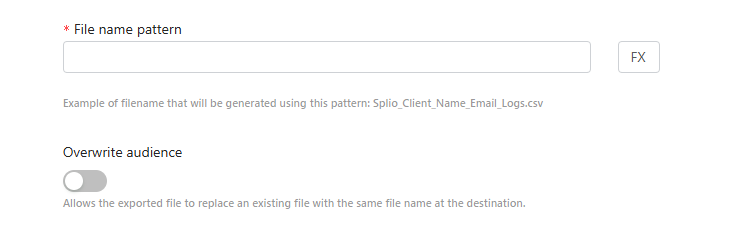
Choose your export name (file name pattern), it could Splio-{campaign}.csv with {campaign} as a dynamic variable according to the audience you export. The Overwrite audience button enables you to manage recurring export toward META by updating an existing audience instead of creating a new one.
-
-
Click on the
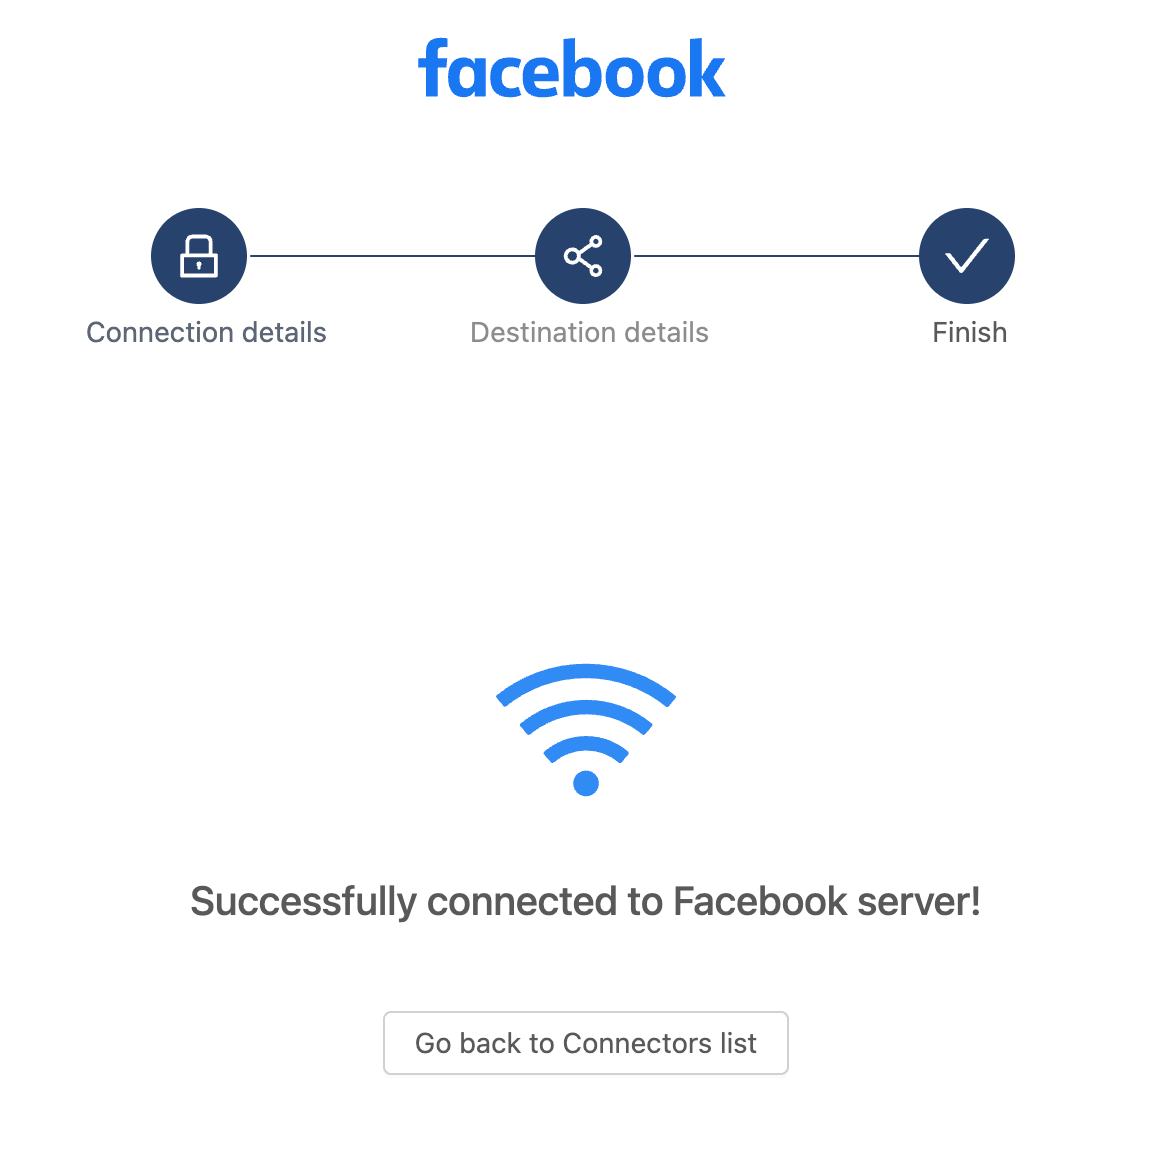
Connectbutton and your connector setup is complete!-
Ensure you gave us the rights to activate your audiences on Facebook by accepting these terms: https://business.facebook.com/ads/manage/customaudiences/tos/?act=xxxxxxxxxxxxxx
-
Splio Meta connector usage
Once the setup is complete, You can send a test campaign to ensure that the connection is functioning properly.
When you will execute your campaigns in Splio, they will automatically be sent to your Custom Audience on Meta.
You can also export manually one specific audience to Meta with the export and recurring export features.
Meta then matches profiles with the hashed email addresses to find customers you can advertise to on Meta, Instagram, and Audience Network.
ℹ️ No personal data is shared between Splio and Meta.
Troubleshooting
- Synchronisation delay
Sync to audiences are not immediately available in Meta Ads Manager and can take up to 72 hours after Splio has finished sending audience updates for them to be available. This is due to a delay in Facebook accepting and processing customers from Splio.
- Matched profiles
Customers are not matched if emails and phones stored in Splio are not the same used in their Meta accounts so the size of the audience may not match exactly with the size of the CAF segment. Meta will not show an error or remove them from the display, but actually won't add any of those contacts.
Updated about 2 months ago