
Single Sign-On (SSO)
Enable your users to authenticate quickly and easily.
What is SAML Single Sign-On (SSO)?
SAML SSO is a single sign-on mechanism based on the SAML (Security Assertion Markup Language) protocol that allows your users to access an application with a centralised and secure connection. It simplifies the user experience while enhancing access security.
This authentication method allows you to log in to your Splio user accounts via your existing identity provider (IdP), such as Entra ID (Microsoft), Google Workspace, Okta or other compatible IdPs. In addition, you can also control the list of people who can access your universe from your IdP.
Splio platform supports Single Sign-On (SSO) authentication methods based on the SAML 2.0 standard (SAML SSO).
Setup and pricing
SSO setup requires configuration on both your identity provider and the Splio platform.
To get started or find out the price of this feature, contact your Customer Success Manager (CSM) or the Splio support team. We will guide you through the configuration steps and help you activate SSO on your account.
Please note that switching to SSO for existing user accounts requires some changes to be made on the Splio backend. It is therefore important to notify everyone affected by this change.
Rest assured that no data will be lost.
Marketing Automation platform via Single Sign On (SSO)
Marketing Automation with Single Sign On (SSO)
Marketing Automation - How to log in to platform
Depending on the security policies implemented by your organization, your Identity Provider administrators may need to approve your access before you can log in.
This approval is a one-time operation. Once granted, you will be able to connect without requiring further validation from your administrator.
-
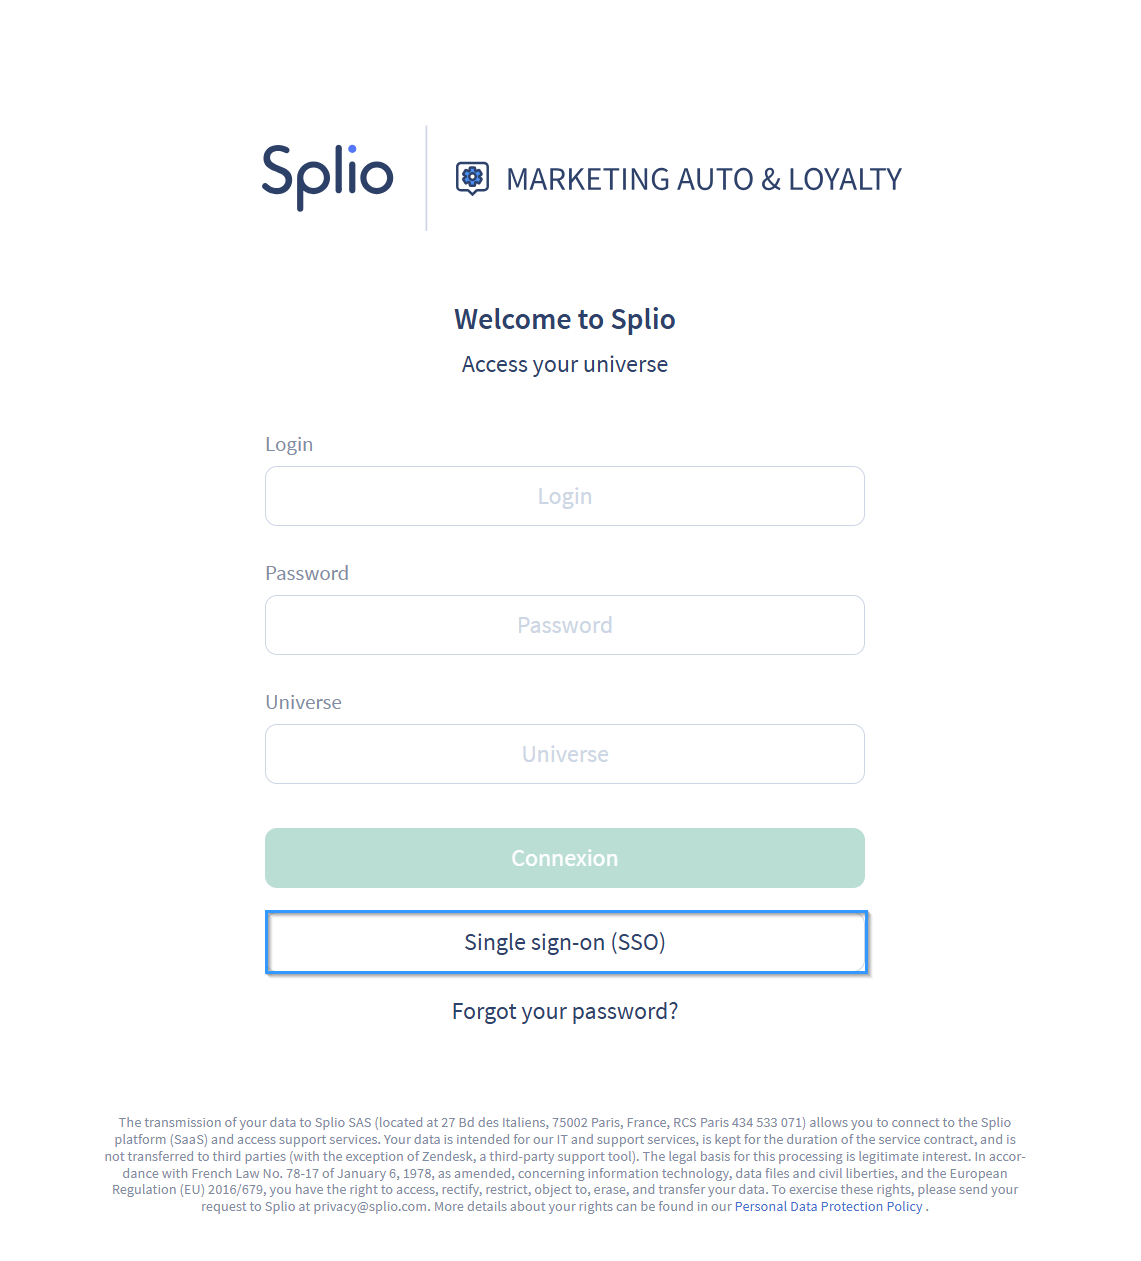
Access the login page (https://sp-ring.com/)
-
Click on the Single-Sign-On (SSO) button
-
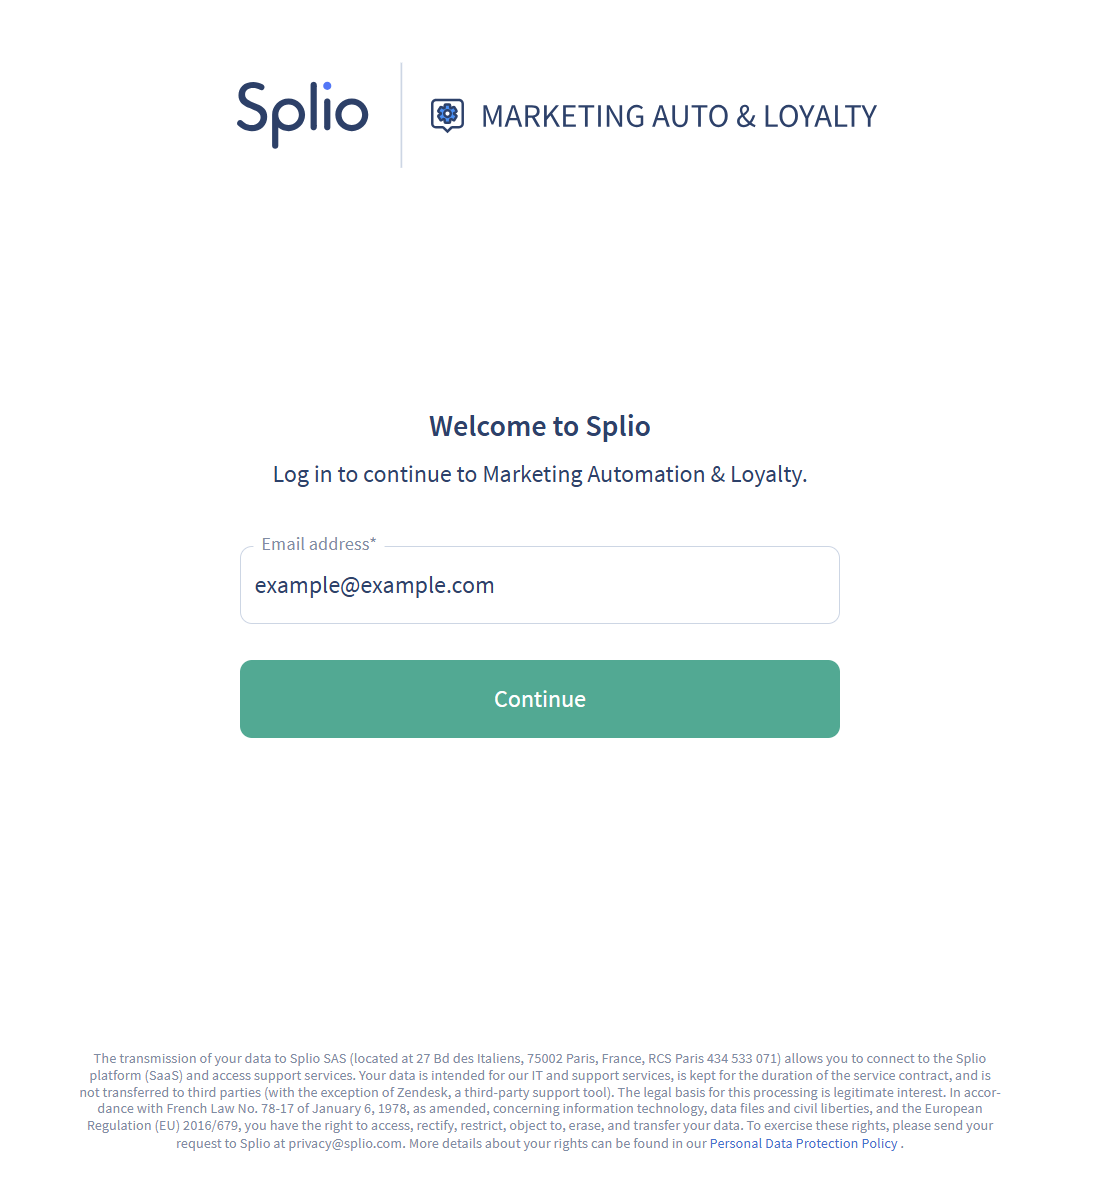
Type your email address and click on Continue button
-
Authenticate yourself - You will be redirected to your identity provider (Google, Microsoft 365, etc.). You’ll be able to connect with it.
-
Access granted - Once authenticated, you will be automatically logged in to the platform
Marketing Automation - Account creation & first authentication with SSO
To be invited to use SSO on the platform, the user simply needs to log in for the first time, after which their account will be created automatically. The user will not have access to platform resources immediately after authentication.
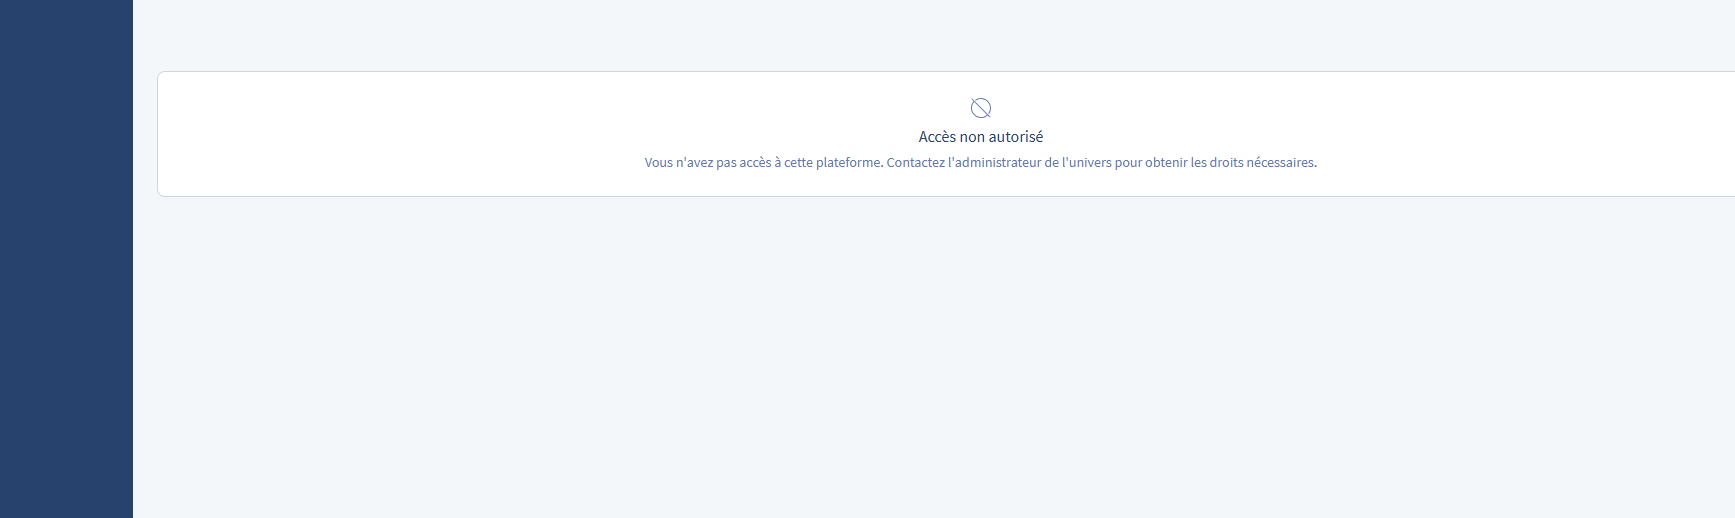
Universe administrators will see their account appear in the list of users with a ‘no access’ permission. They can then grant them the necessary permission.
Marketing Automation - Adding permissions to a user account
When an account is created and you wish to change its access rights, you must:
-
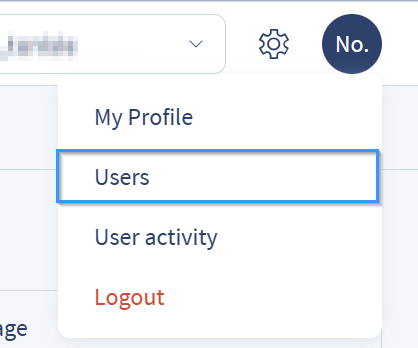
Click on your profile and go on the Users sub-tab
-
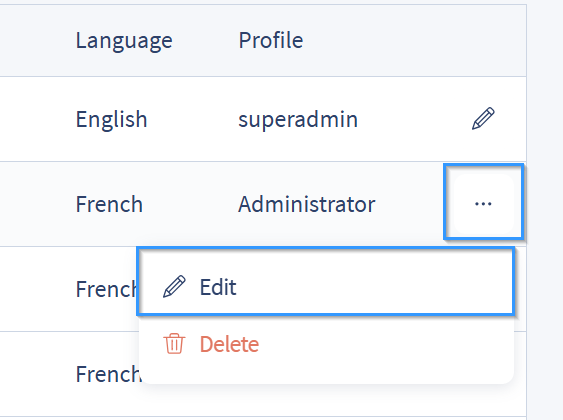
On the row of the user you wish to edit, click on ... and then click on Edit.
-
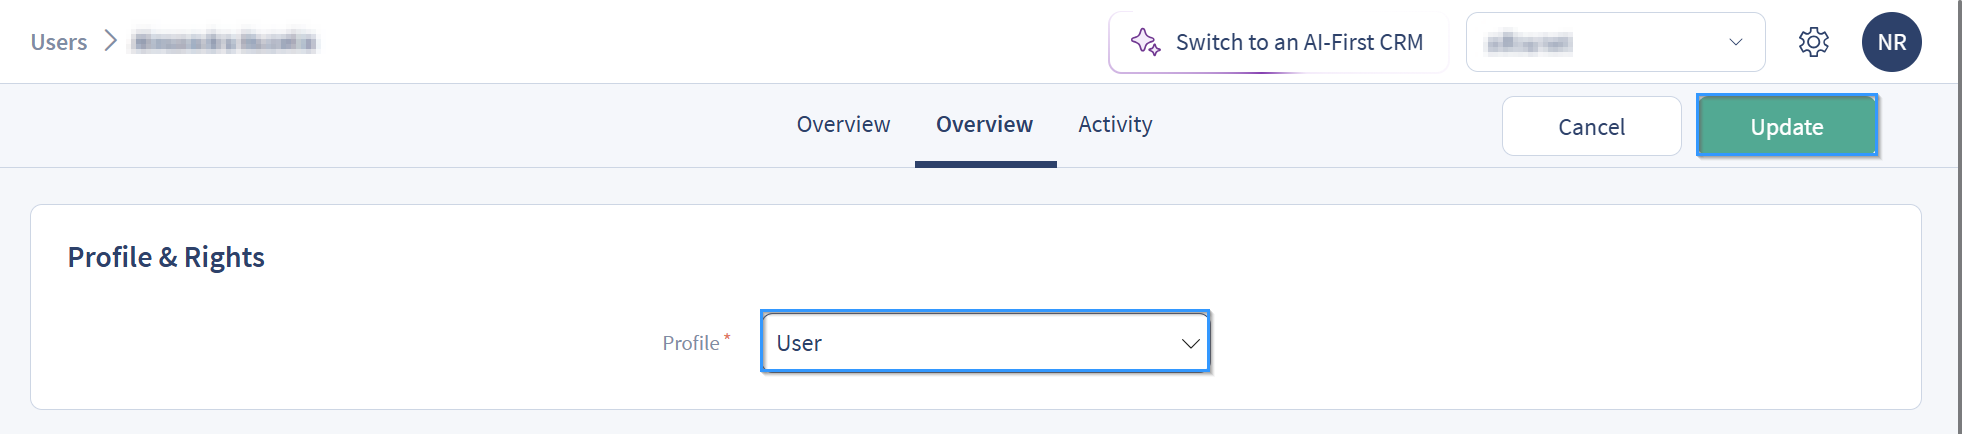
Finally, select the role you wish to assign to the user, then click on the Update button.
CDP & Predictive AI with Single Sign On (SSO)
CDP & Predictive AI - How to log in to platform
Depending on the security policies implemented by your organization, your Identity Provider administrators may need to approve your access before you can log in.
This approval is a one-time operation. Once granted, you will be able to connect without requiring further validation from your administrator.
-
Access the login page (https://app.tinyclues.com/)
-
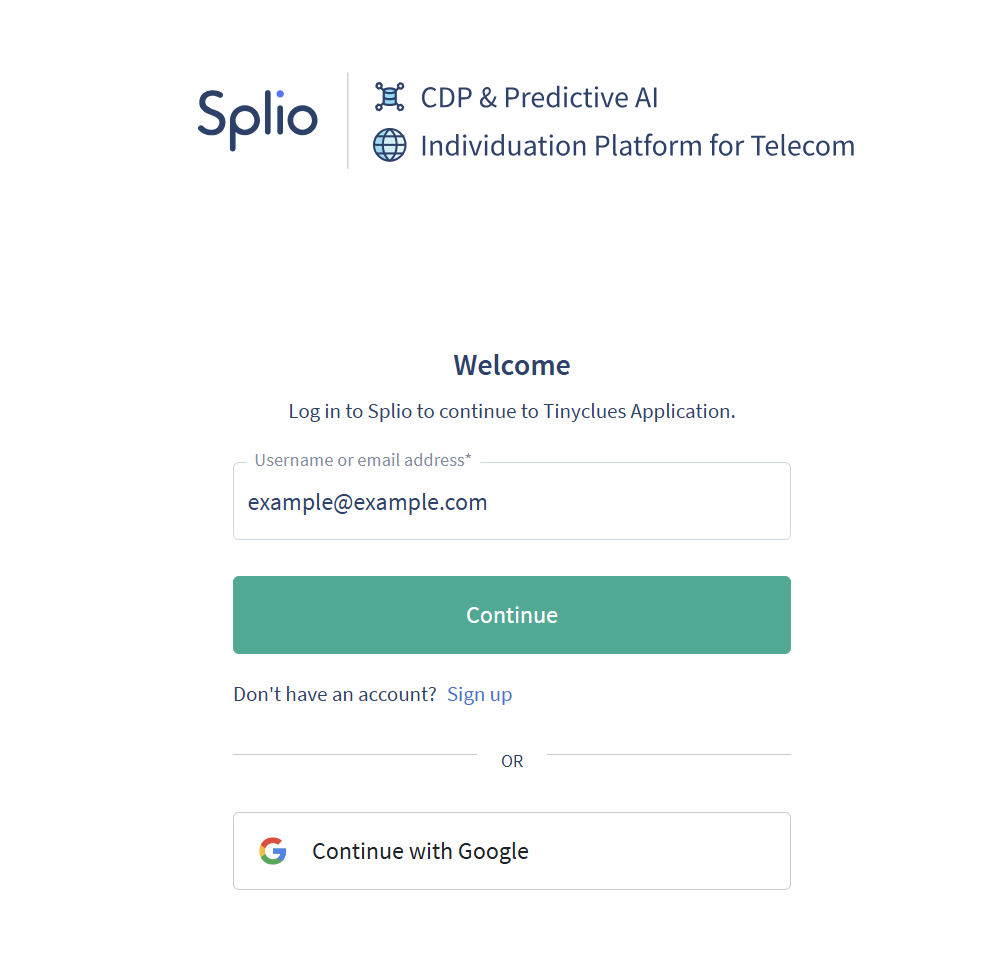
Type your email address and click on Continue button
-
Authenticate yourself - You will be redirected to your identity provider (Google, Microsoft 365, etc.). You’ll be able to connect with it.
-
Access granted - Once authenticated, you will be automatically logged in to the platform
CDP & Predictive AI - Account creation & first authentication with SSO
To create an SSO account on the platform, you must to:
-
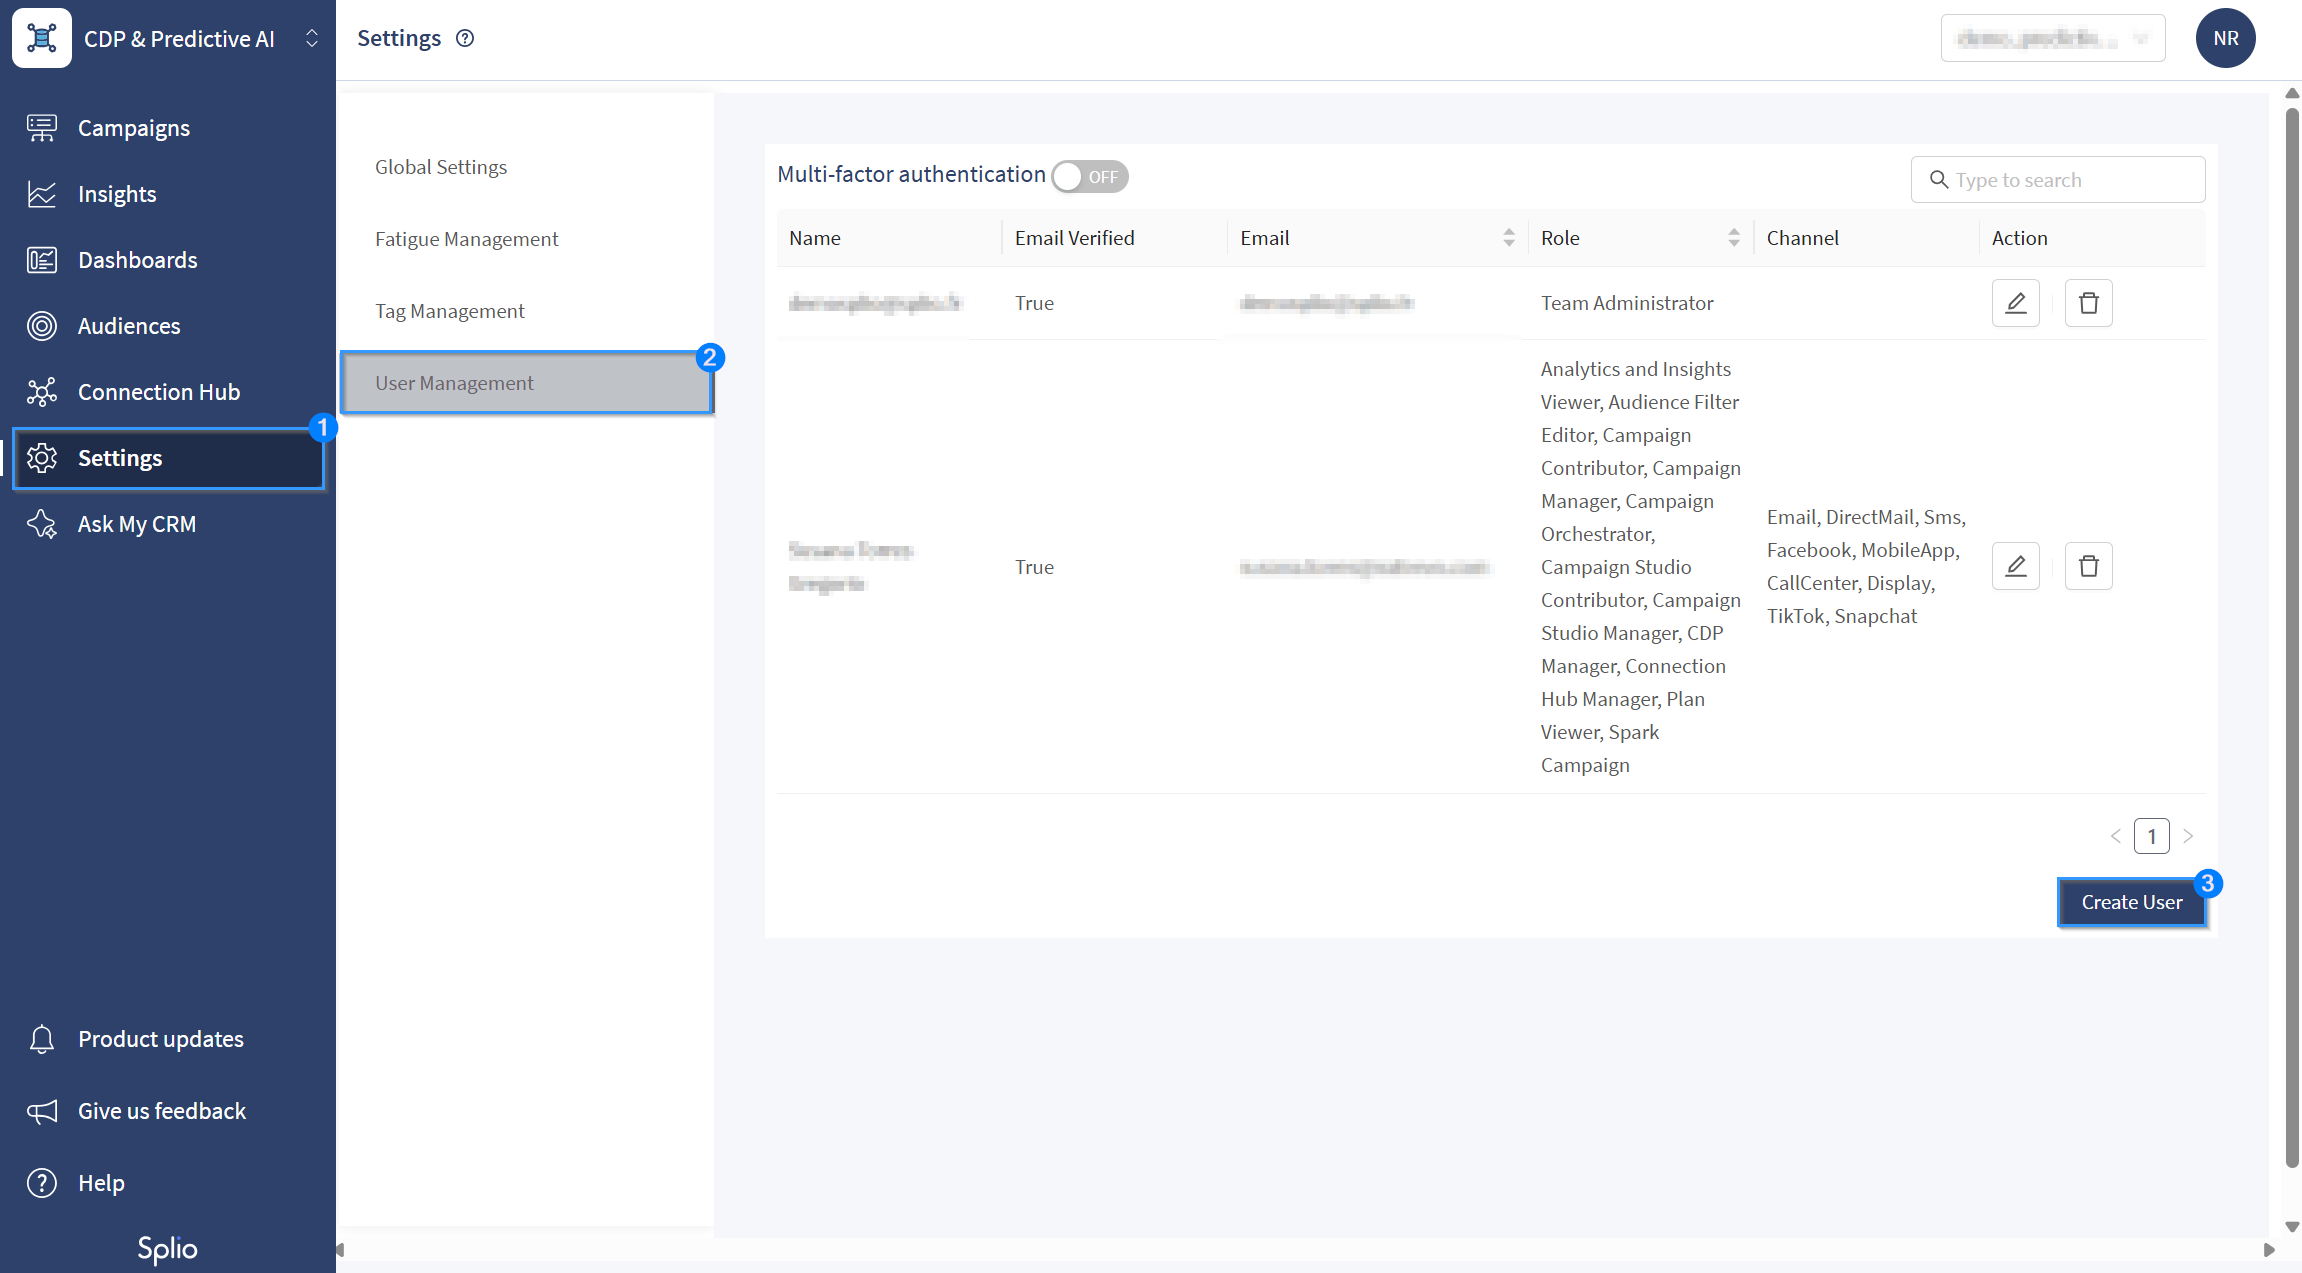
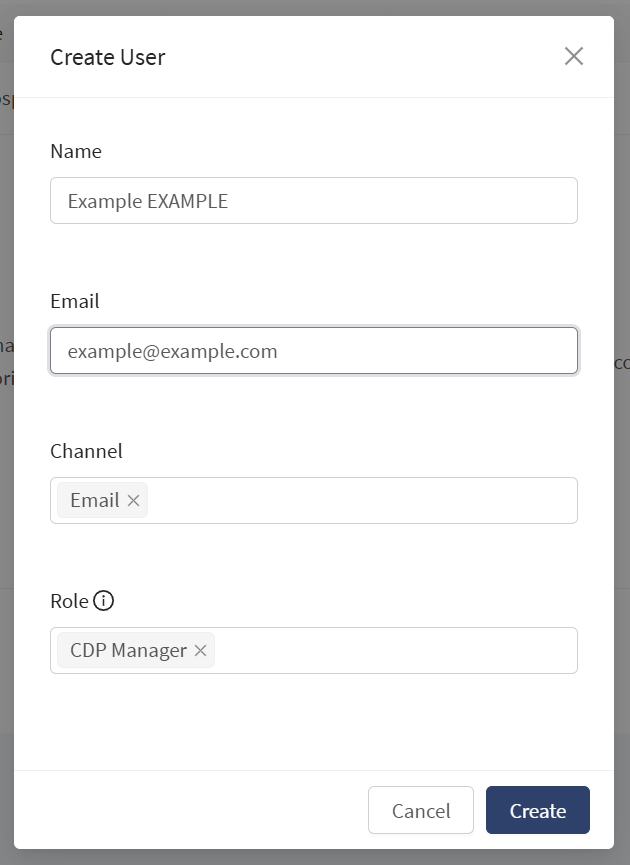
Invite the person by going to Settings > User management and click on the Create User button
-
Complete the account creation form and click the ‘Create’ button
-
The user will then receive an email inviting them to join the platform. They will be able to log in directly via SSO on the platform.
CDP & Predictive AI - Adding permissions to a user account
If you wish to change the permissions for an account, simply:
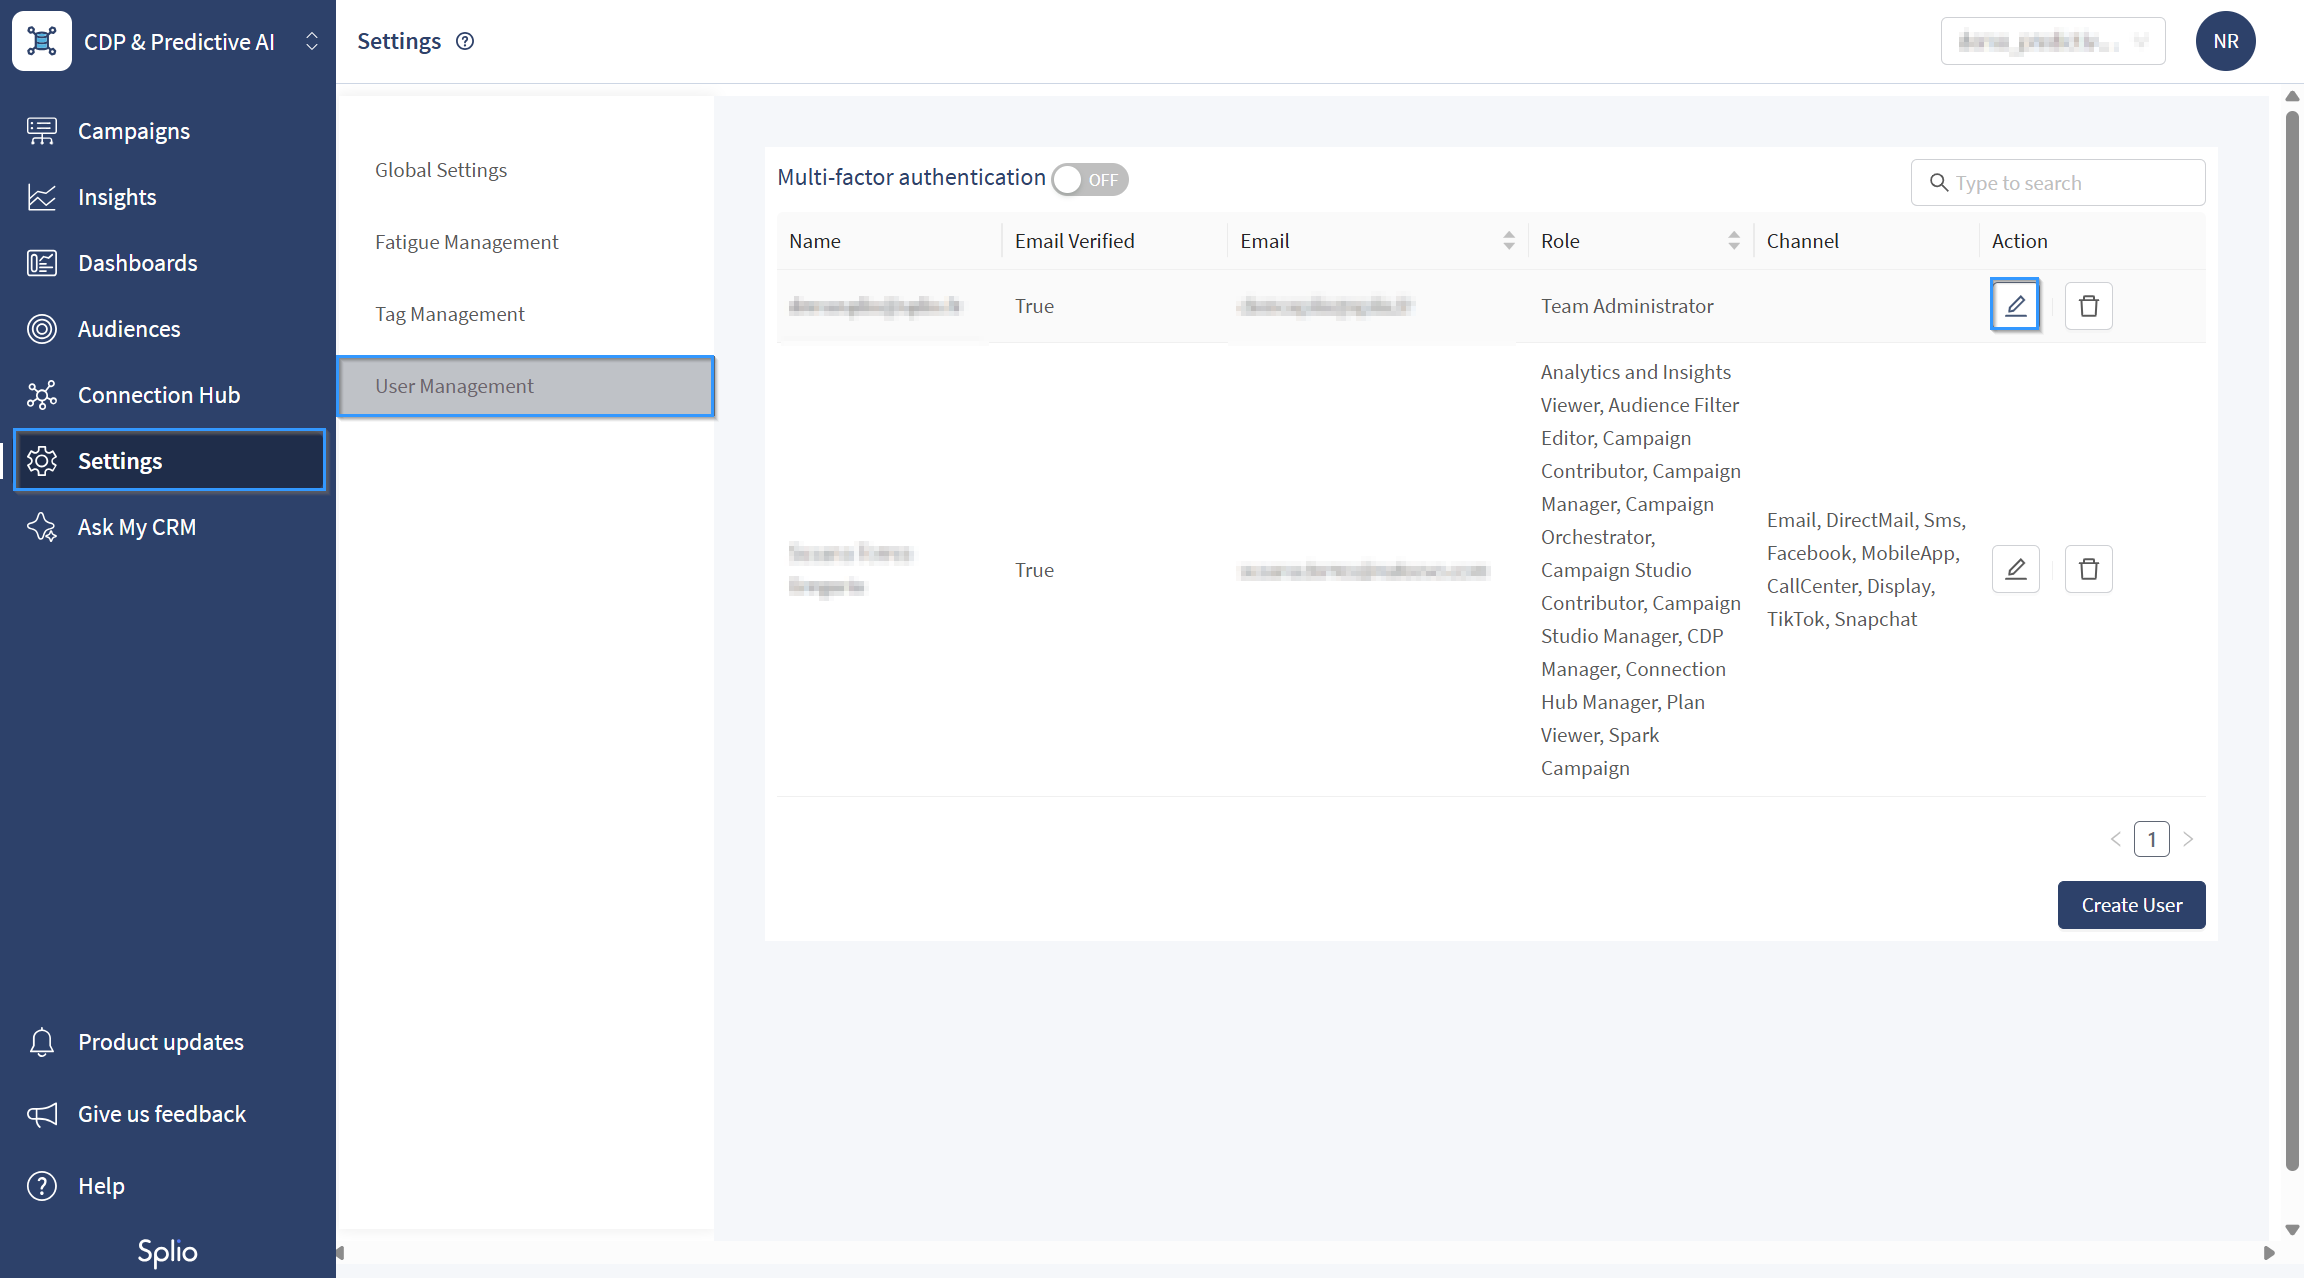
- Access to Settings > User management and click on the pensil button
-
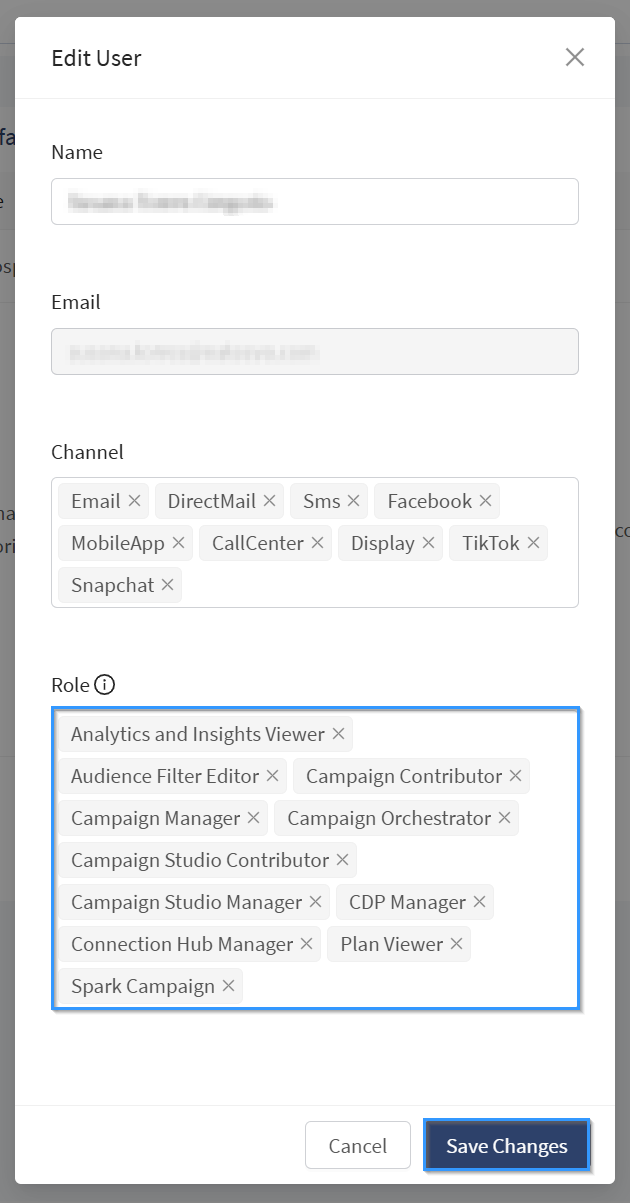
Select the roles you wish to add or remove, then click the Save Changes button.
Updated 2 months ago